
I hope everyone else is reveling in the cost savings that LED bulbs have meant. The light emitting diode (LED) is such a cool invention. Once the bulbs were being manufactured in huge numbers and their prices dropped, it made definite economic sense to replace our other bulbs with them. We swapped out our incandescents for compact fluorescents (CFLs) several years ago, but as those die we’re putting in LEDs. That time has also finally arrived with fluorescent tubes, too. The per-bulb cost for an LED retrofit lamp is now on par with a standard four-foot fluorescent tube, and the LEDs come with a five-year warranty. What’s not to love?
Well, as the term “retrofit” implies, you have to modify your old fluorescent fixtures to handle these new bulbs. And it’s a one-way process: you can’t use old-style fluorescent tubes in these fixtures again. Not that you’d ever want to.
But the retrofit itself is a bit of a puzzle if you haven’t done it before. The lamps I got are made in China, so the directions are a little rough in translation. The helpful clerk at Brown’s Electrical Supply here in Fairbanks had given me some quick general pointers, so I had a basic idea of what needed to be done, and that I needed to be sure I didn’t have “shunted tombstones.” There’s a pair of words I never thought I’d see together.
Safety note: Make sure your fixture is disconnected from electricity.
Our fluorescent fixtures are in the garage and are the classic hanging style. I unplugged one and took it down to work with it in a well-lit area across a couple of sawhorses. First I took out the old tubes and cleaned off a couple decades of dust.
Next, you have to get your fixture apart. Solving that alone took half the time. We have a very poor internet connection, and all the help that Google gave me was YouTube videos, which weren’t much help. Except that I caught the statement that “Most of these fixtures are put together with clips.” Aha. Finding those clips on this model and getting them loose was the most difficult part of the job once I knew what I was doing with the actual retrofit. I’m serious.

Opened and being gutted.
I dismantled the power input end, pried out the cover over the central well of the fixture, cut loose the ballast and removed it, removed the wiring to the far end of the fixture (leaving it all intact otherwise), and then wired one black (power) and one white (neutral) wire to each two-wired socket on the powered end (my non-shunted tombstones). The re-wiring simply united three wires each (powered and neutral) with a wire nut. Then I closed it back up, put in the new lamps with the proper end in the powered socket, and fired it up. Wow. Those suckers are bright! I’d gotten one each of the 5,000 and 4,000 Kelvin bulbs and paired them up for better color balance. I’m impressed with the steady, non-flickering bright light that these now provide.
All told, this took about an hour for each fixture. (Though I wasted some of that looking for my soldering iron, which I didn’t find and didn’t use; it would have given me more power-wire length if I could have de-soldered it from the ballast. Anyway, I could have spliced in some of the extra wire removed from the far end if I’d needed it, but while it was tight I did get those three ends wired together.)
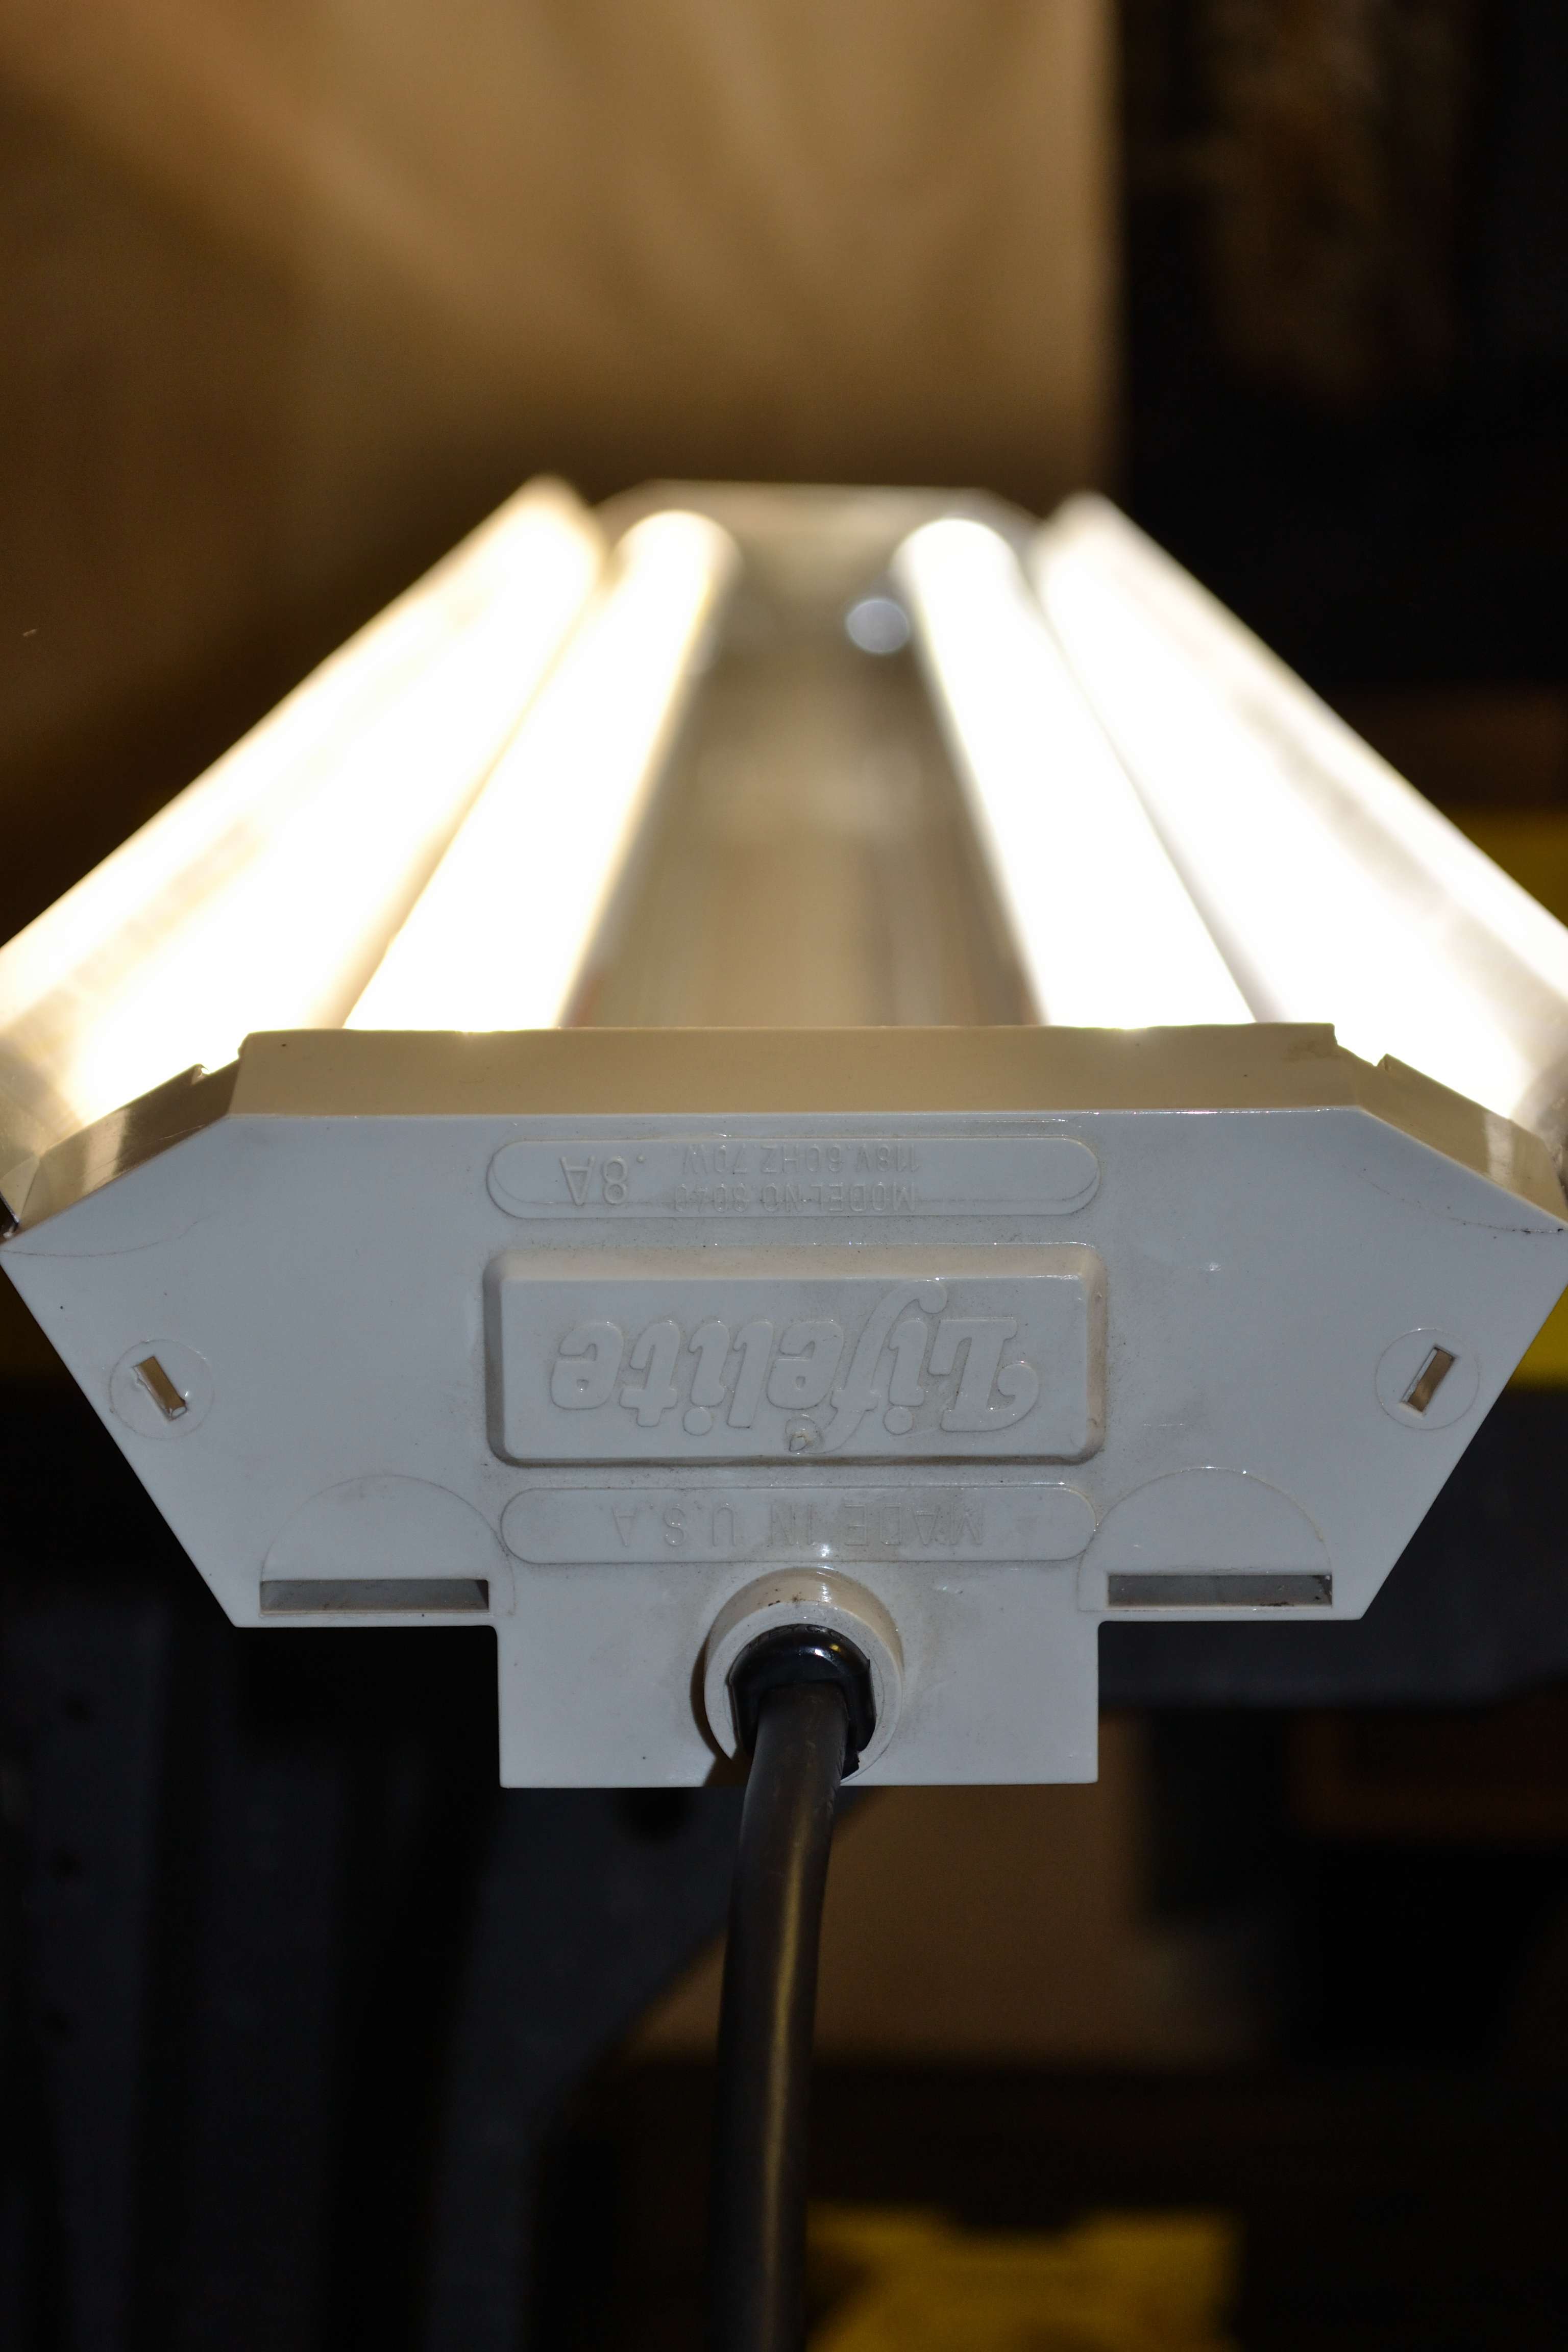
Et voila.
Here is a list of things that would have made the job easier if I’d known them all before starting:
– Fluorescent fixtures are snapped and clipped together. I just needed a thin screwdriver.
– Fluorescent bulb sockets, one on each end, are called tombstones.
– You need tombstones that take two wires, not one (the latter are called shunted).
– A new bulb comes with a tombstone that takes two wires if you need to replace yours (well, mine did anyway).
– These new bulbs are only powered from one end.
– That end is labeled; get it in right when you’re installing it.
– You need to put direct power into each tombstone at one end of the fixture.
– The re-wiring is simply putting a positive and negative (neutral) wire directly to one socket for each bulb.
– Cut everything else loose and remove it—the ballast, and the wiring to the far end.
– Two wire nuts connecting three wires each for the positive and neutral feeds do the trick for a standard two-bulb fixture.
– I used a screwdriver and wire cutters and a wire stripper.
I didn’t even need to use the Home Electrocution Handbook. Though it was standing by just in case.
Home Electrocution Handbook